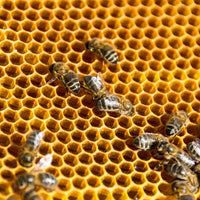

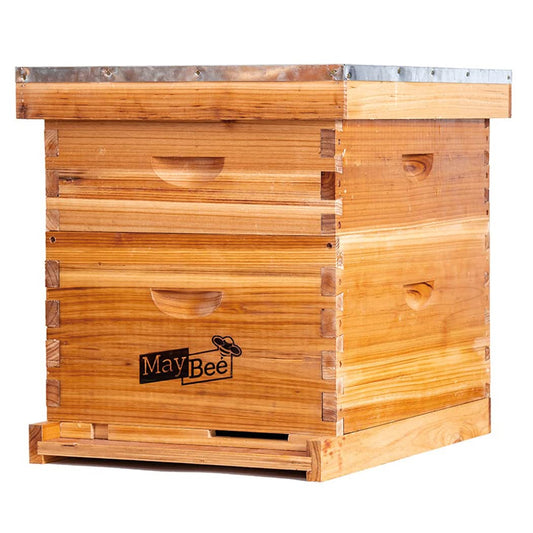


🐝 Italian Bee Winter Insulation Guide: When to Start and How to Do It Right

As fall and winter roll in and temperatures drop, many beekeepers start worrying about their Italian honey bees’ winter survival. After all, Italian bees are the “high-yield stars” in the beekeeping community—gentle-tempered and great honey producers, but their cold resistance is far weaker than native species like Russian bees or Carniolans. Poor insulation can lead to freezing deaths and affect spring reproduction and honey production.
1. When Do Italian Bees Need Insulation?
As a southern breed, Italian bees are sensitive to cold. Here’s a simple temperature guide:
- Below 50°F (10°C): Start pre-insulation. Bees begin clustering—repair hive gaps and reduce the entrance.
- Below 41°F (5°C): Apply full insulation. Use hive wraps, ensure enough honey, and reduce ventilation drafts.
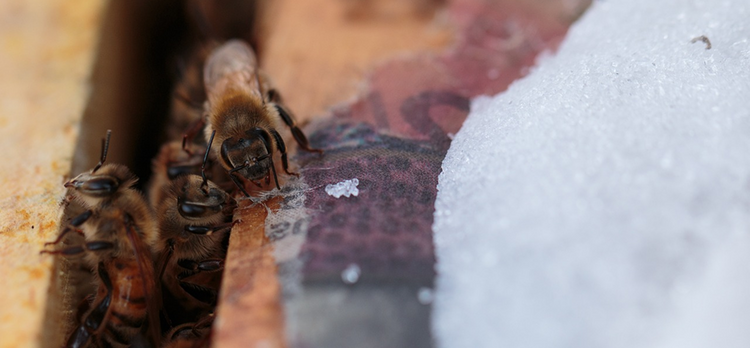
- Below 32°F (0°C): Watch for freezing risk. Moisture condensation can kill bees—focus on ventilation and moisture control.
2. 5 Key Tips for Italian Bee Winter Insulation
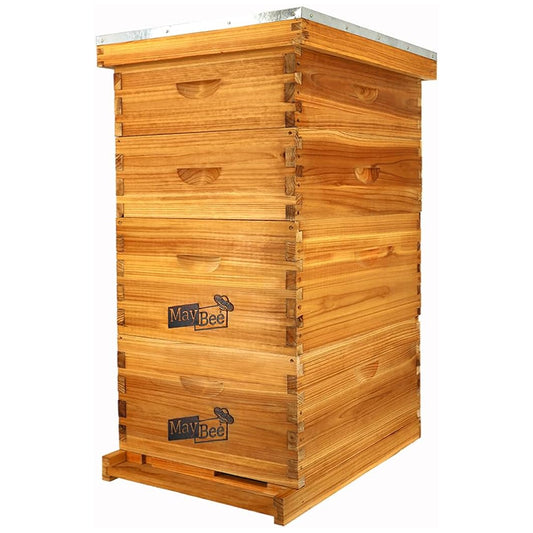
1. Block Wind & Seal Gaps
Inspect hive lids and seams, seal cracks, and reduce the entrance to prevent cold air from entering. Use waterproof tape or foam strips and line the bottom with hay or plastic to block ground cold.
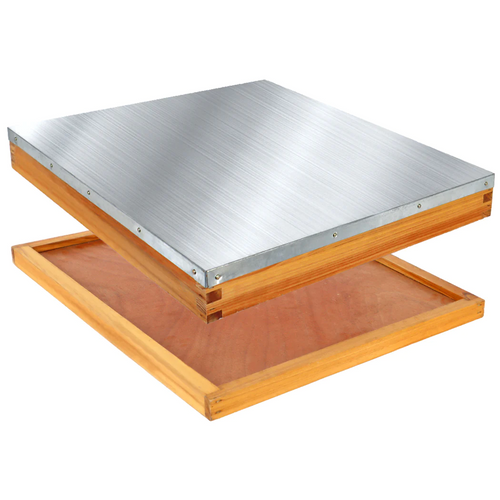
2. Use Proper Hive Insulation Covers
Choose waterproof, breathable covers—Oxford cloth with insulation cotton works best. In northern areas, use 5cm+ thick wraps; in southern regions, light wraps or foam are enough. Avoid over-insulating to prevent overheating.
3. Prevent Moisture
Lay newspaper or cotton under the inner cover to absorb moisture, and elevate the hive for better air circulation. Keep ventilation holes open and avoid heavy objects on the hive top.
4. Ensure Enough Food Storage
Italian bees rely on stored honey during winter. Each colony needs at least 6–8 pounds. If short, feed 2:1 sugar syrup in advance and place capped honeycomb near the cluster for easy access.
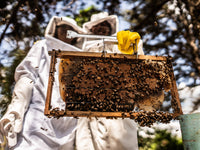
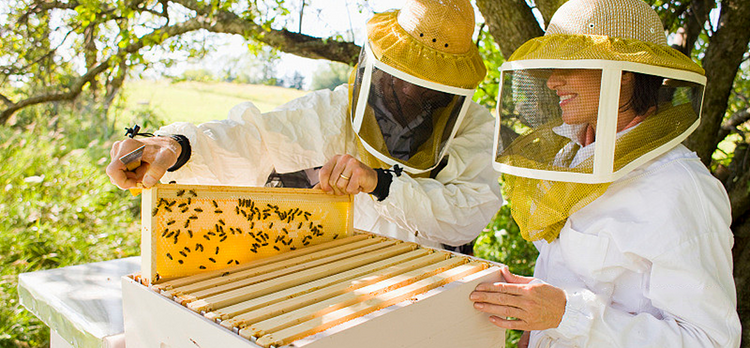
5. Minimize Disturbance
Limit hive inspections in winter. If needed, check briefly at noon when it’s warm (above 50°F / 10°C). Tap the hive—steady buzzing means healthy; weak noise may mean food shortage or cold stress.
3. Adjust Insulation by Region
| Region | Temperature Range | Core Plan | Extra Tips |
|---|---|---|---|
| Southern States (e.g., Florida, Texas) | 41°F (5°C) - 59°F (15°C) | Use thin foam or light wraps; narrow entrance | Remove insulation after cold snaps to avoid overheating |
| Northern States (e.g., Minnesota, Maine) | 14°F (-10°C) - 32°F (0°C) | Thick wraps + hay + windbreak | Clear snow around hives; ensure vents remain open |
| High Altitudes (e.g., Rocky Mountains) | Below 4°F (-20°C) | Move hives into cellars or insulated sheds | Maintain 60–70% humidity to prevent honey spoilage |
4. Summary: 3 Key Temperatures to Remember
- 50°F (10°C) — Start sealing and preparing
- 41°F (5°C) — Apply full insulation
- 32°F (0°C) — Take extra moisture precautions
With proper insulation, your Italian bees will stay warm and healthy through winter, ready to thrive in spring and boost honey yields.